Gather the useful details
Check the inside seams or original packaging for a spare button. If none is available, compare the remaining buttons for diameter, thickness, colour and number of holes. A replacement that looks similar but is too large for the buttonhole will make the shirt awkward to wear.
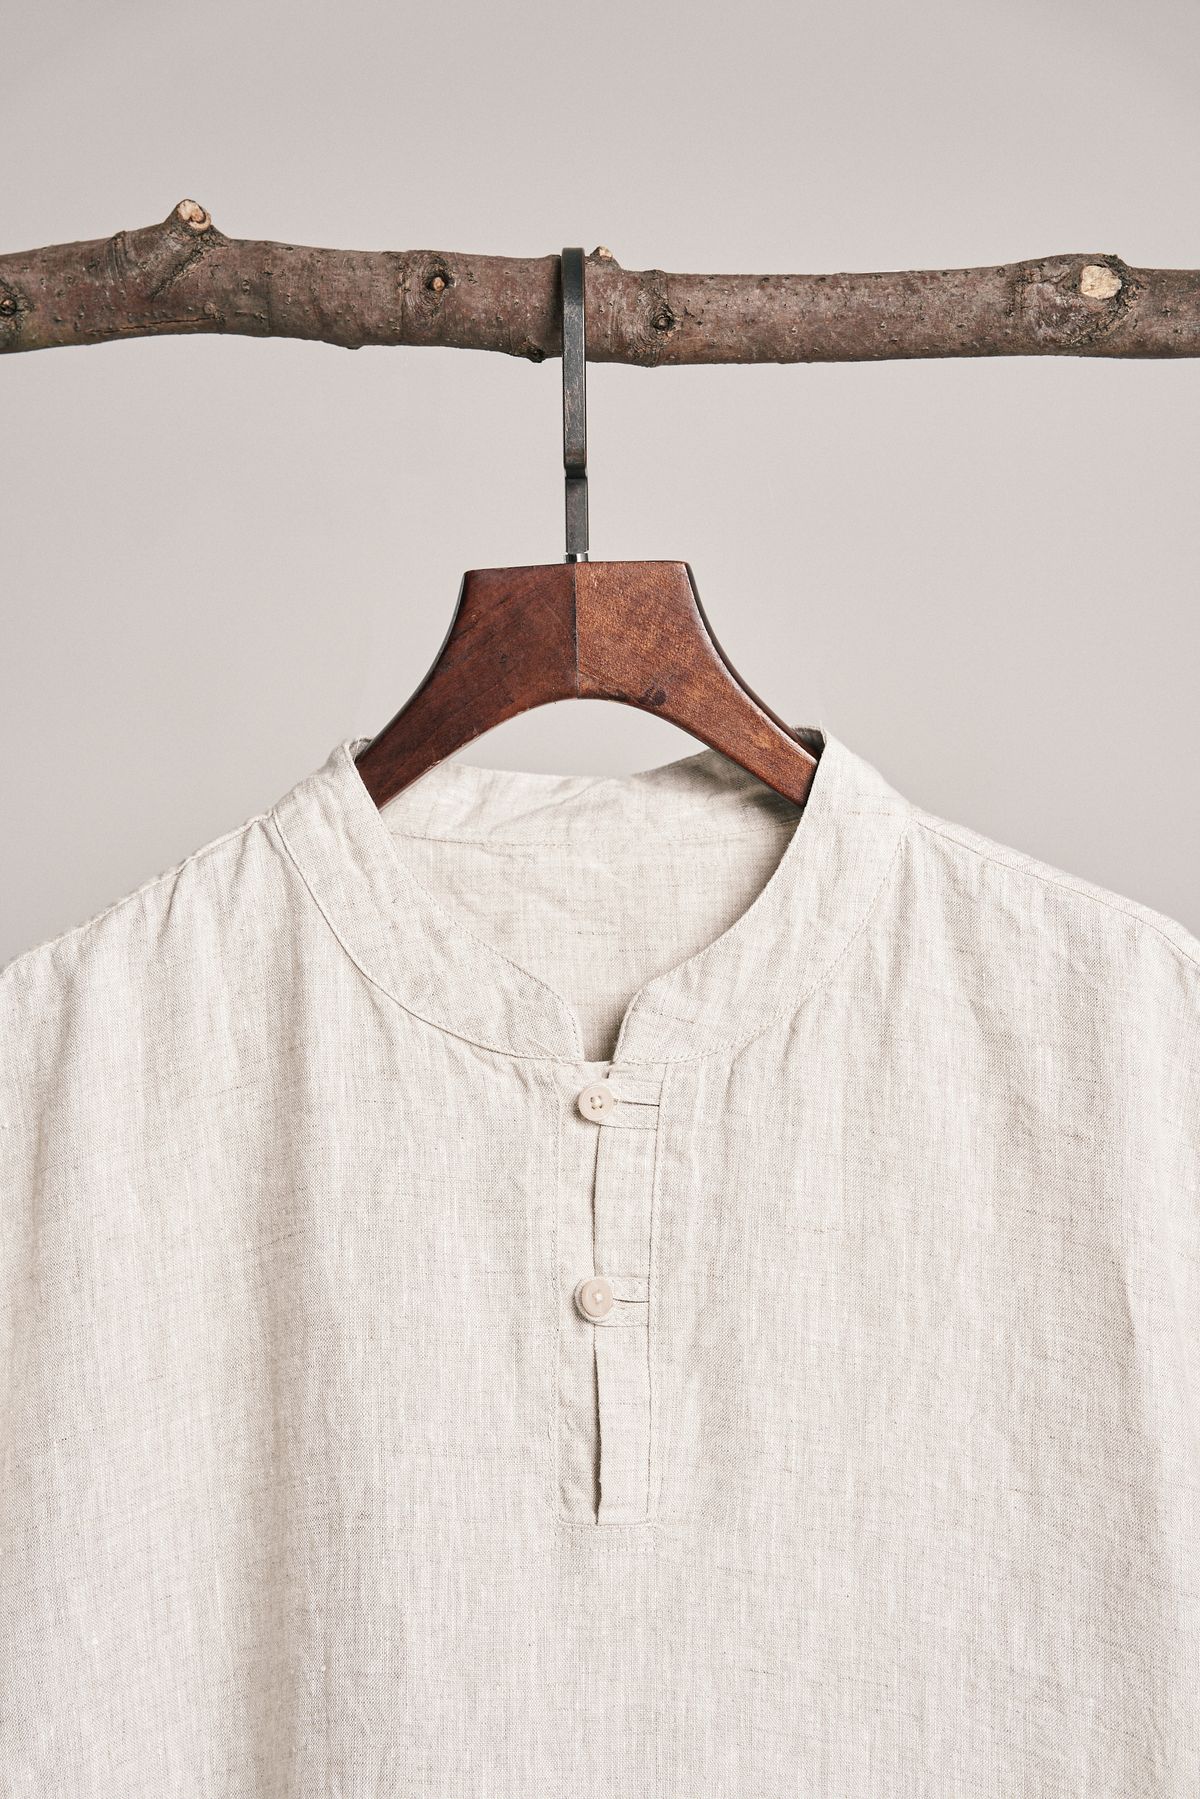
Lay the shirt flat and line up the two front edges. Look for the original thread marks to locate the missing button. If the fabric has torn rather than simply lost its thread, stop and consider a reinforcement or professional repair before sewing onto a weakened spot.
Keep the attachment secure, not tight
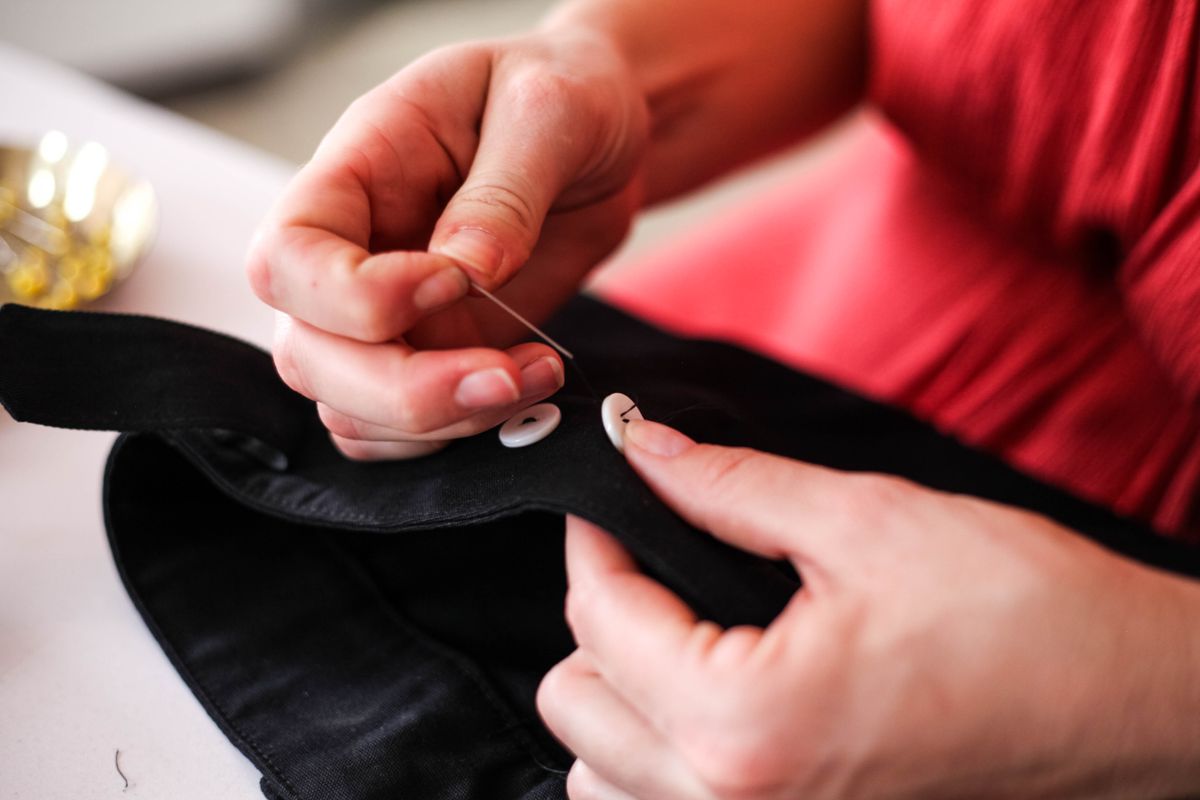
Use a suitable needle and thread, with the shirt supported on a clear work surface. For an ordinary flat button, sew through its holes and the original attachment area with several neat passes. Compare the arrangement with neighbouring buttons so the result sits consistently.
Leave enough space beneath the button for the opposite layer of shirt fabric to fit comfortably. Pulling it hard against the cloth can make fastening difficult and put strain on the stitches. Secure the thread on the reverse without gathering the shirt into a pucker.
Test before putting the kit away
Fasten the button and check that the placket lies naturally. Open and close it a few times gently, then look at the reverse for a loose end or a knot likely to catch. Trim thread carefully and account for the needle before clearing the surface.
If the repair is on a delicate blouse, a covered button or a complex cuff fastening, the method may differ. A repairer can match the construction more closely. For a straightforward shirt, keep any remaining spare buttons in a labelled envelope so the next small repair starts with less searching.